
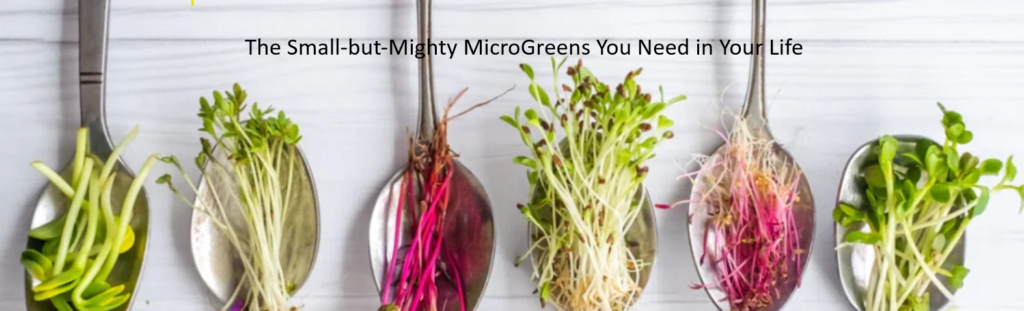
Have you ever wanted to harvest fresh, nutritious microgreens right from your kitchen counter? Growing microgreens is a fast, economical, and space-saving way to add a burst of flavour and health to your meals. Using common staples from an Indian kitchen, you can have a “ready to eat” harvest in as little as a week.
Why Grow Microgreens?
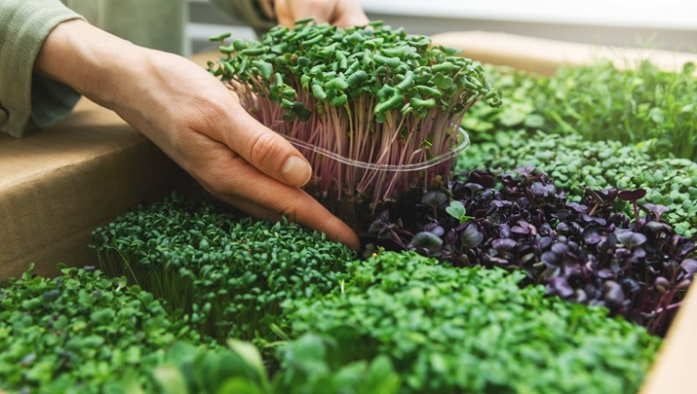
Microgreens are more than just a garnish; they offer specific flavour profiles—such as the bitterness of methi (fenugreek) or the pungency of mustard—that enhance any dish. Beyond taste, they are scientifically proven to be highly nutritious. Because you are growing them from your own pantry spices like rai (mustard) or jeera (cumin), it is also incredibly cost-effective.
Most microgreens are ready to harvest in 7–14 days. Require very little space — ideal for small kitchens, balconies, or windowsills.
Microgreens often contain 3–40 times more nutrients than mature plants (depends on the variety).
Choosing Your Seeds and Medium for Microgreens
You don’t need fancy equipment to start. Most Indian kitchens already have the perfect seeds:
• Methi (Fenugreek): A reliable favorite that germinates quickly.
• Mustard (Rai): Very fast-growing and pungent.
• Moong Dal: Another great option for beginners.
Radish (Mooli): Extremely fast-growing with a strong, peppery flavor.
• Broccoli: Mild taste, very nutritious, and perfect for beginners.
• Sunflower: Crunchy texture and rich in nutrients; grows vigorously.
• Pea Shoots: Sweet, tender, and one of the easiest microgreens to grow.
• Wheatgrass: Ideal for health juices; grows quickly and densely.
For your growing medium, you have two main choices:
• Regular Soil: Use about 1.5 inches (roughly 2-3 centimeters) of topsoil in a container.
• Coco Peat: This is a clean alternative; simply add water to the coco peat before sowing your seeds.
The Growing Process for healthy Microgreens
1. Preparation: To speed up the process, soak your seeds in water before sowing; this significantly reduces germination time.
2. Sowing: Spread your seeds over the medium. For larger seeds like moong dal, ensure they are at least an inch deep.
3. Watering and Hygiene: To keep your workspace clean, use a double-container system where the top container has holes and the bottom one catches extra water. It is vital to change or refill this water daily to prevent bad odors.
4. Observation: You will start to see action quickly. Methi, for example, shows significant growth within 3 to 4 days.
Troubleshooting Common Issues
• “Leggy” Plants: If your microgreens are growing very tall and thin with long stems, they are likely searching for light. Move them to a spot with better indirect sunlight.
• Mold vs. Root Hairs: Don’t panic if you see white fuzz! New growers often mistake root hairs for mold or fungus. Root hairs are a natural part of the plant’s growth, whereas mold will usually have a distinct, unpleasant smell.
• Water Quality: If your setup starts to smell, it is often a sign that the water needs to be changed more frequently.
Harvesting Your Microgreen Bounty
The best time to harvest is when the cotyledons (the first set of leaves) are fully developed. For mustard, you will see these distinct leaves ready for clipping in about 7 days. While you can sometimes get a second or even third harvest from the same seeds, the quality and yield typically decrease after the first cut.
A Vital Safety Note
While many kitchen spices are perfect for microgreens, never grow microgreens from the nightshade family, such as potatoes, tomatoes, or eggplants. These plants contain alkaloids that are toxic when consumed as microgreens. Stick to trusted seeds like methi, mustard, and moong dal for a safe and healthy harvest
Also check out our post on the nutritional Power of sprouts -Nature’s Ultimate Superfood
Check out the linked YouTube video here